Are you looking for instructions on how to build a hunting blind?
If yes, then you’ve come to the right page. Read further below for a DIY guide on how to build a ground hunting blind.
Nothing fancy but it’ll cover the basics on how to build one that’s sturdy and can last a couple seasons.

Why Build a Ground Level Hunting Blind?
There is two types of hunting blinds:
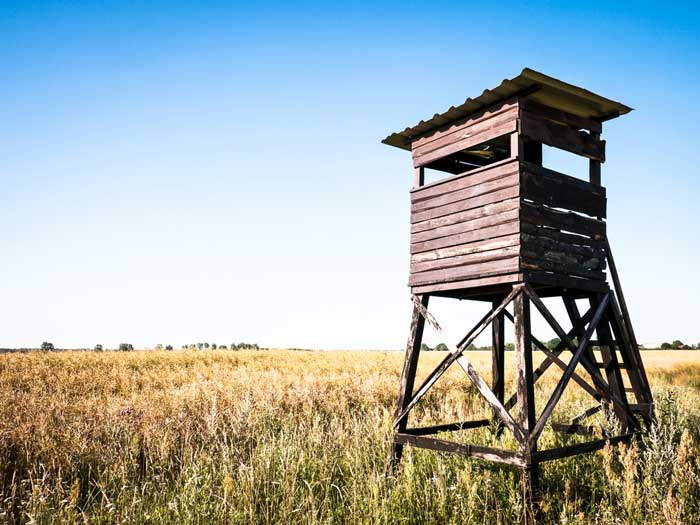
- The elevated types are mounted a few feet up from the ground and you can access it with a ladder or stairs.
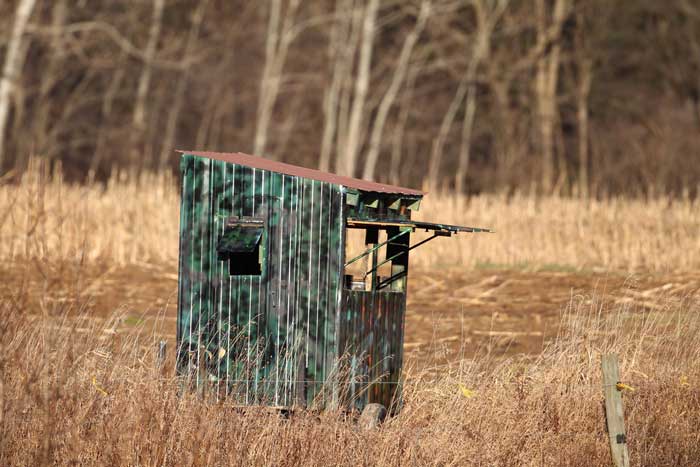
- The ground level blind is more of a box shed that sits on a platform a few inches off the ground. Ground level hunting blinds are easier to make and transport.
There are a lot of hunting blind plans online but here’s a basic one that you can build easily.
This one has an 8 x 4 feet floor area, large and cozy enough for you and a hunting partner.
If you need a smaller box, you can modify this with a square 4x4 floor.
How long will it take to build?
While you don’t need to work on this for straight hours, you can easily build it in less than 24 hours.
Materials Needed:
- 12 pieces of 8 feet long 2x4 in. lumber
- 7 pieces 4 feet long 1x2 in. lumber
- 7 pieces of Plywood, ½ thick, 4x8 feet. You can also use pallet wood for the walls.
- Corrugated tin sheets for the roof
- Door and window hinges
- Door handle and latches as lock
- Nails and screws
*Number of pieces can vary depending on the frame structure
How to Build a Deer Blind (Step-by-Step):
Step 1: Start with the Base
The base will be composed of the floor platform and the runners below it that will keep the floor about 6 inches off the ground.
Floor Platform
Lay 1 sheet of the 4x8 Plywood on the ground and this will act as a guide for the rectangular floor frame.
Now lay the 8 feet 2x4 lumber, one for each of the longer sides.
On each shorter sides, lay one of 4 feet 2x4s, forming a rectangular frame.
Nail this frame together but don’t attach it to the plywood yet.
Inside the frame, attach 5 pieces of the 4 feet 2x4s, laying each a feet off from each other.
You’ll need to cut a couple inches on each of these to be able to fit them inside the rectangular frame.
Then attach this frame to the Plywood floor.
Runners
Now that you have the floor platform built, attach 8 feet runners underneath on each of the sides.
This will support the platform and keep the floor off the ground.
Step 2: Box Frame
The next step is to create the frame that will hold the walls.
Use the 8 feet 4x2s to build the standing frame.
Attach one on the corner of the walls, then on the wider walls, place another 8 feet 4x2s in the middle for support.
Close the structural frame on top.
Once you have the wall frames, decide on which side you will build the door.
It’s best that you put the door on one of the shorter sides, and the windows go around the 3 other wall sides so you’ll have a wider view.
Place structural frames on the windows for horizontal support.
# Pro Tips:
To save money, you can use 1x2 in. wood (thinner) as a frame for the windows
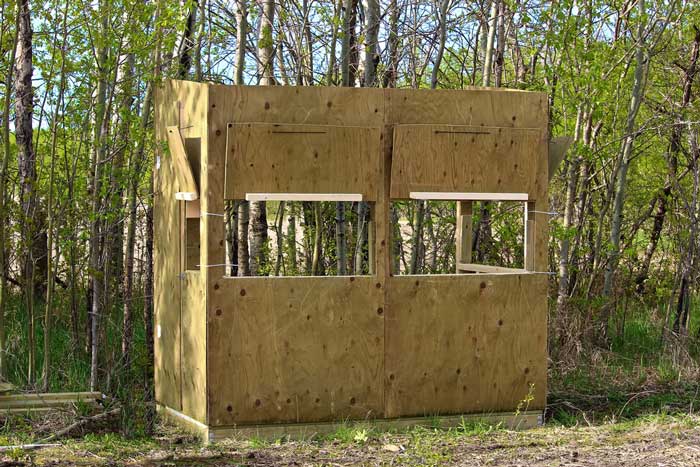
Step 3: Walls, Windows, and Doors
Attach the plywood walls on each side with the windows. Make the holes on each window frame.
The windows can be 1 feet high and wide enough to extend to the corners of the walls.
It’s really up to you if want bigger windows or how you’d design this.
The Plywood that you cut off from the windows can be reattached with hinges.
Attach latches on each window so that you can close it whenever needed.
This can be very useful when you need close of a wall against high winds.
Step 4: Install the Roof
Remember that the roof has to be inclined at an angle so that if it rains, the water will fall on one side.
To create that incline, make one of the wider walls lower about a few inches compared to the wall parallel to it.
If you’re only planning to windows on one or two sides only and have one closed wall, make sure that the roof is tilted to this wall or the back.
This way the water will pour on this side.
But since we’re building a deer blind where we’ll have windows on all three sides, it doesn’t really matter which side it’s tilted.
# Note:
Do NOT cut the tin sheet in the exact size of the frame.
Make sure to extend it about a foot off on each side of the walls to get that roof overhang.
Attach the tin sheet on the top frame and remember to overlap each connecting side to avoid leaks during rainy days.
Step 5: Finishing Touches and Tips
>> Attach a handle and latch on the door:
The latch will be handy in case you need to keep the door closed against strong winds.
To save money, you can use the same Plywood you cut off on the door area and attach it using hinges.
>> Fill in the gaps:
Your hunting blind should be built to last the elements.
Including invasion against wasps, bees and anything else in case you leave it empty for the next season.
So better cover gaps in ceiling walls and doors.
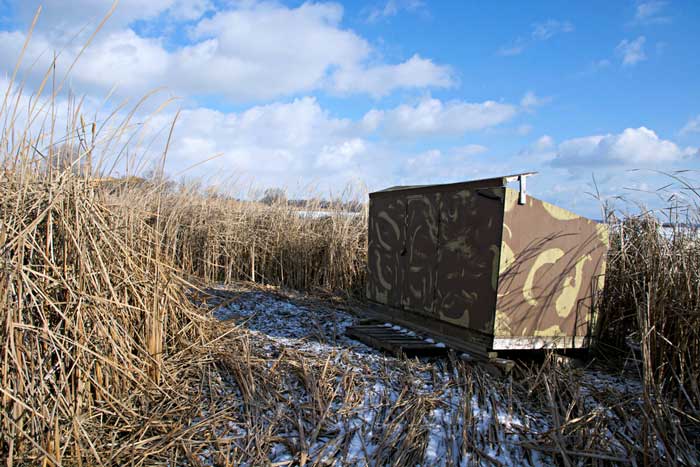
>> Paint your hunting blind:
So that it’ll blend with the surroundings.
Although it will stand in a permanent location for some time and the deer will get used to it, it will help if you camouflage it.
>> Scent-proof your hunting blind:
Latex paint job will usually do the job as well as waterproof the walls.
>> Build high:
Build the deer blind with runners that are high enough to keep the floor off the wet terrain.
In other words, keep it off the water and this should last for several years.

Conclusion:
Hope this guide helps! Do you have questions about building this hunting blind?
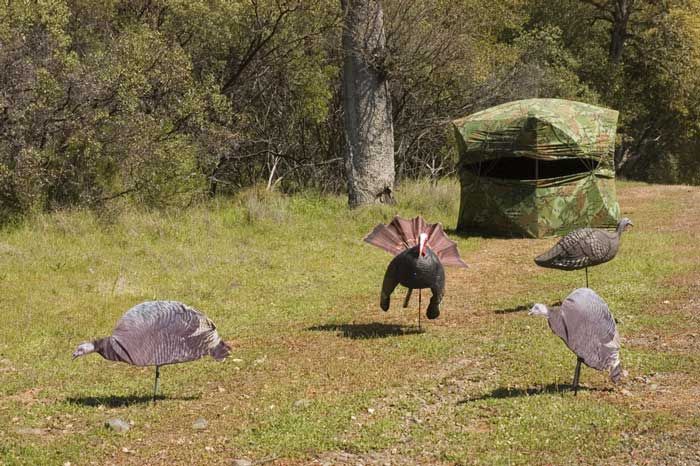
This guide doesn’t require you to be a pro-carpenter and it’s sturdy compared to ready-made pop-up hunting blinds.
How much can you save?
You only need to invest in the cost of materials and time to build it.
This how to build hunting blind guide can be also be modified to make a unit that’s portable and can be assembled using screws!
That way you can transport the platform, walls, and roof on your trailer and build it on your preferred spot.